Although traveling is limited in times of a pandemic, it got me thinking of my adventure in and out of the Philippines. As I think of my Hong Kong Trip about two years ago (2018), I started remembering how I prepared for everything. Even though my trip was only for three nights and two days, I had to prepare for more than a year! And you will know why after reading this article. Before anything else, remember that these are just tips based on my experience. We will all have a different situation when it comes to traveling. However, I am almost positive that my tips will be a big help. So, here are my 10 Tips for Filipinos Traveling Abroad for the First Time:
1. Secure your Philippine Passport
Having a passport is one of the most important things you need for traveling. Duh! Before booking your plane tickets and accommodation, make sure that you already have your Philippine Passport on hand. If you do have a passport already, make sure that it is valid or renewed. If you haven’t applied for a passport yet or had your passport renewed, don’t worry. Just set an online passport appointment to your nearest Department of Foreign Affairs Office (DFA). Slots for appointment run out fast. It took me about a year to finally get an appointment. I checked everyday for a few months until I finally had an appointment in a few months. This took most of my time for preparing my trip abroad. Anyways, to learn the step-by-step process, watch the video below.
2. Research Research Research
After attaining your passport, you can now plan your trip. If you already have a dream vacation to a certain country, then good for you! However, you still have to do your research. Back in the days of Dive Monster Rhoody, there was not internet to help search for the best hotels or resorts in a certain country. Lucky for us, the future has evolved into a technology and travel friendly place. So, get your computer, laptop, cellphone or tablet on and do your fine research. Consider the distance to tourists spots you visit, to the airports, public transportation, restaurants and so much more. Remember that if you stay at a place that is not walking distance to anything, you need to pay more for public transportation.
Doing research will also help you create a schedule and chart to what you will be doing and where during your vacation abroad.


3. Travel to Visa-FREE countries
Unfortunately for Filipinos, we are not privileged travelers. Being in a third world country masks us one of the least privileged when it comes to traveling. Aside from being questioned about our motives for traveling, we are also not allowed in a lot of countries with out a visa. If you don’t know what a visa is, it simply is a form of key which allows you to enter a country. Even though we are limited to our travels, there are still countries Filipinos can travel to with Visa FREE entries and Visa on Arrival (VOA). Check out the list below:
ASIA / OCEANIA
(Visa Free)
*Singapore – 30 days
*Indonesia – 30 days
*Malaysia – 30 days
*Hong Kong – 14 days
*Macau – 30 days
*Fiji – 4 months
*Thailand – 30 days
*Vietnam – 21 days
*Myanmar – 14 days
*Micronesia – 30 days
*Israel – 90 days
*Mongolia – 21 days
*Laos – 30 days
*Cambodia – 21 days
*Brunei – 14 days
*Vanuatu – 30 days
*Palestinian Territories
ASIA / OCEANIA
(Visa On Arrival / E-VISA)
*The Marshall Islands – 90 days
*Palau – 30 days
*Papua New Guinea – 60 days
*Armenia – 120 days
*Georgia
*India – 60 days and must arrive through designated air/seaports
*Iran – 30 days
*Kyrgyzstan – 1 month, with visa on arrival available at Manas International Airport
*The Maldives – 30 days
*Nepal – 90 days
*Sri Lanka – 30 days
*Timor-Leste – 30 days
*Tajikistan – 45 days, arrival at Dushanbe International Airport
*Samoa – 60 days
*Tuvalu – 1 month
AFRICA
(Visa Free)
*The Ivory Coast – 90 days
*Morocco – 90 days
*Gambia – 90 days
*Rwanda – 90 days
AFRICA
(Visa On Arrival / E-VISA)
*Cape Verde
*Comoros – 45 days
*Djibouti – 31 days
*Guinea-Bissau – 90 days
*Kenya – 3 months
*Madagascar
*Malawi – 90 days
*Mauritania – visa available on arrival at Nouakchott-Oumtounsy International Airport
*Mauritius – 60 days
*Mozambique – 30 days
*Somalia – 30 days
*Togo – 7 days
*Uganda
*Gabon
*Lesotho
*Sao Tome and Principe
*Zambia
*Zimbabwe
EUROPE
(Visa On Arrival / E-VISA)
Russia – 8 days, exclusive to Kaliningrad Oblast and Leningrad region
AMERICA (Visa Free)
*Bolivia – 90 days
*Brazil – 90 days
*Colombia – 90 days with an available 90-day extension
*Ecuador – 90 days
*Peru – 183 days
*Suriname – 90 days
*Costa Rica – 30 days with available extensions of up to 90 days
*Haiti – 3 months
*St Vincent and the Grenadines – 1 month
AMERICA
(Visa On Arrival / E-VISA)
Nicaragua – 90 days
Dominica – 21 days
Saint Lucia – 6 weeks
Saint Kitts and Nevis – 30 days
Trinidad and Tobago
NOTE: If you have a valid USA tourist visa, then all Central American countries are visa-free for you.
Take note that certain countries may change their mind about accepting Filipinos into their country. So again, do your research for more updated and current information.
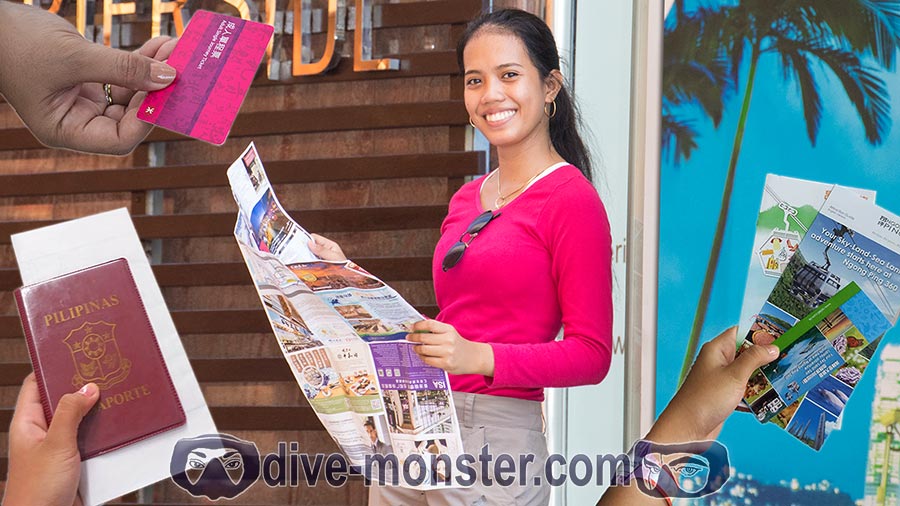
4. Prepare Travel Documents & Confidence!!!
The worst thing that can happen to your trip is not being able to go on your trip! In other words, being “offloaded” by the Philippine Immigration. So, make sure to prepare your travel documents and ace the immigration interview. Make sure that you have your passport (obviously), return flight ticket, hotel reservation, money, company ID, or certificate of employment (if possible, indicating your salary and how long you have worked in the said company). The Philippine Immigration Officer will question the standard things such as your name, age, address, work and so on. However, they can ask a few more things to ensure that you are just on a holiday and not escaping the country.
First thing they will consider is how you are able to pay for your trip. So, be sure that you provide evidence such as certificate of employment and other documents. If you are traveling via a friend’s financial support, you might want to prepare a written document or provide proof. As long as you are honest, then there should be no problem.
When it’s your first time to travel, it can be very exciting and nerve racking at the same time. Based on my experience, it was a bit nerve racking, but I was happy that it didn’t get worse. To read more about it, go check out my article Hong Kong Trip (Part 1: Packing & Flying).
5. Be 3-4 Hours at the Airport Before your Flight
Once you have your passport, flight tickets and other documents you are ready to fly out of the Philippines. You probably have heard this from a lot of people. And there is a GOOD REASON why! Be at the airport 3-4 hours before your flight. This will just give you more time to get through security and flatten any creases and bumps you might get on the way to your aircraft. You still have to pay a travel taxes that sometimes eats up to 30 minutes (unless this was already included in your plane ticket). Then your wonderful interview with an Immigration Officer.

P.S. In my experience with going out of the country, I did not go to the airport 3-4 hours before my flight. That is because I had to fly from Dumaguete-Sibulan Airport to the Manila NAIA Airport (Ninoy Aquino International Airport). From Manila International Airport, I only had an hour to get from Terminal 3 to Terminal 2 while passing the interview, getting our stuff through security and finally boarding the plane. So, there are situations where you can’t be early. But as much as possible TRY.
6. Bring US Dollars & Credit Card
Since your travel fund or money plays an important role during your trip it is important to keep some even before the flight. Although most Immigration Officer will only ask how much you will bring, they do not necessarily ask you to show the money. Hence the term “show-money”. When traveling out of the country it is also safe to bring US Dollars. Why you may ask? First, to take advantage of the high exchange rates. Second, you will rarely find foreign exchange counters accepting the Philippine Peso in other countries.
Then a credit card, debit card, visa card or any card that has money and can be withdrawn from an ATM will come in handy. You never know when an emergency will strike, and it is always better to prepare. Imagine being stranded because of bad weather or perhaps got stuck at traffic and missed your flight. You have to stay at your hotel one more night and rebook your flight. A credit card can come in hand if ever you used all your pocket money on the trip.
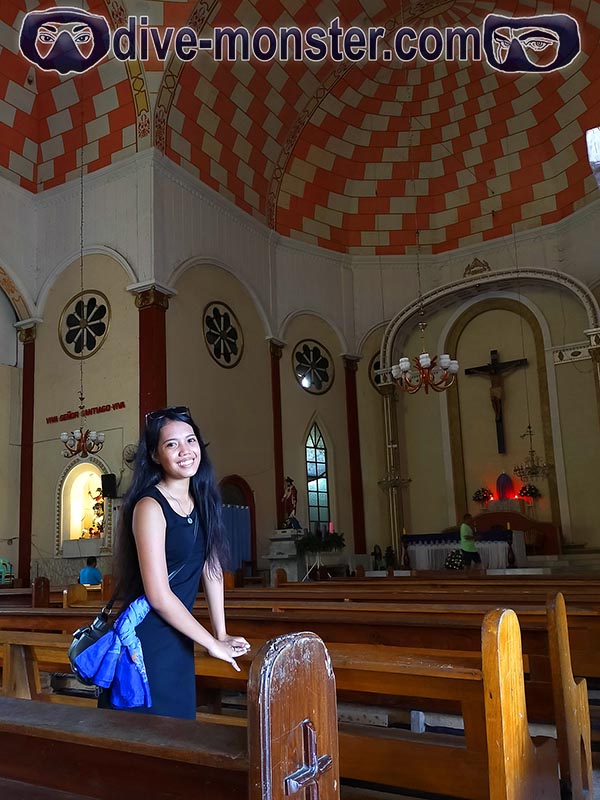
7. Keep an Open Mind
Even though you have done your research, there are some things you will miss. Sometimes that’s okay! However, you can save yourself a lot of embarrassment or awkward situations if you do your research and keep an open mind. Take note of the different religions a certain country have. If going to a temple or a church, make sure to wear appropriate clothes or bring a “sarong” or scarf to cover yourself up. Learn a few etiquette and save yourself from being stared at by locals. I do understand that most people want to have the first-hand experience of their culture and lifestyle, but it’s better if you understand it first than just going with the flow. Remember, we are all different.


8. Bring a Reusable Water Container
When you get so busy doing a city tour or going through different tourist spots, you can easily dehydrate yourself. Although water in the Philippines can be rather cheap (about Php 20 for 1-liter water), water prices in other countries will vary. Some will cost Php 50 for a 500 ml water bottle. So, bring your own refillable bottle container. You can refill this at a restaurant or your hostel for free. It helps you save a few pesos and helps lessen plastic waste.
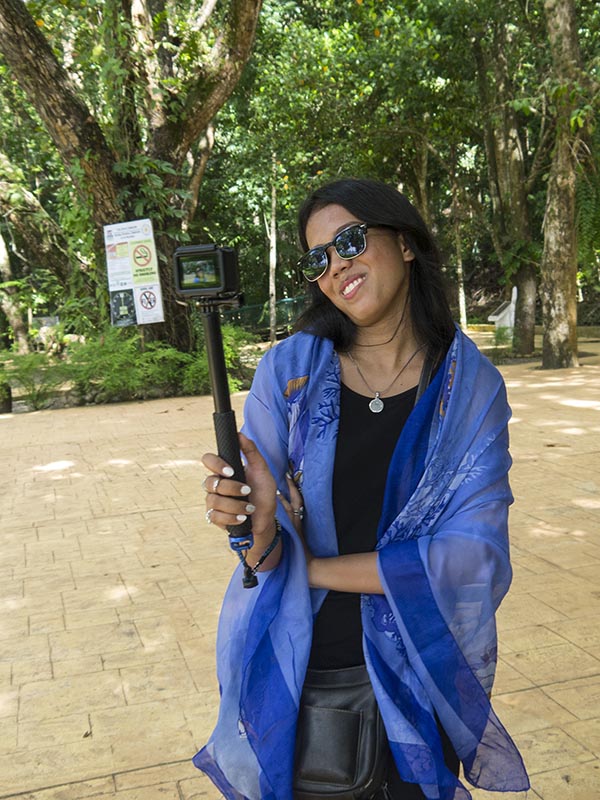
9. Choose Purpose Over Fashion
Although this tip can be debated by many, I strongly believe that choosing your clothes with purpose is way better over fashion. Nowadays, people want to get the best picture with their OOTD (outfit of the day) at the best tourist spots. However, as much as possible wear outfits that you can reuse again with different accessories to make a completely new look. This is great for longer trips or even for short trips (less things to bring). For example, you can use a black tank top with a denim jacket and jeans during a city tour. Then you can reuse this black tank with a long skirt for a nice dinner. Aside from this, take note of the country’s weather and condition as well. Although it is nice to stand out sometimes, try to dress like a local to avoid too much attention. Too much attention means too much money, which then could mean being robbed. <— Just a possibility…I’m not scaring you or anything!
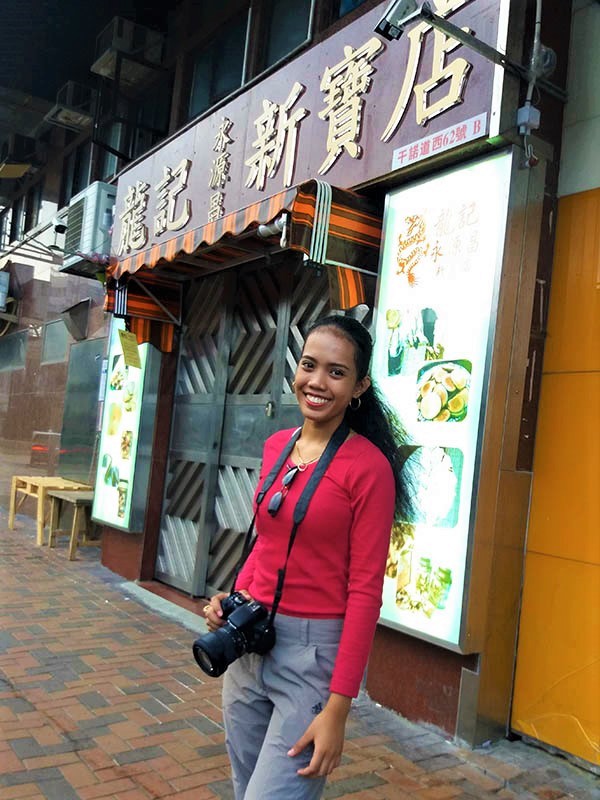
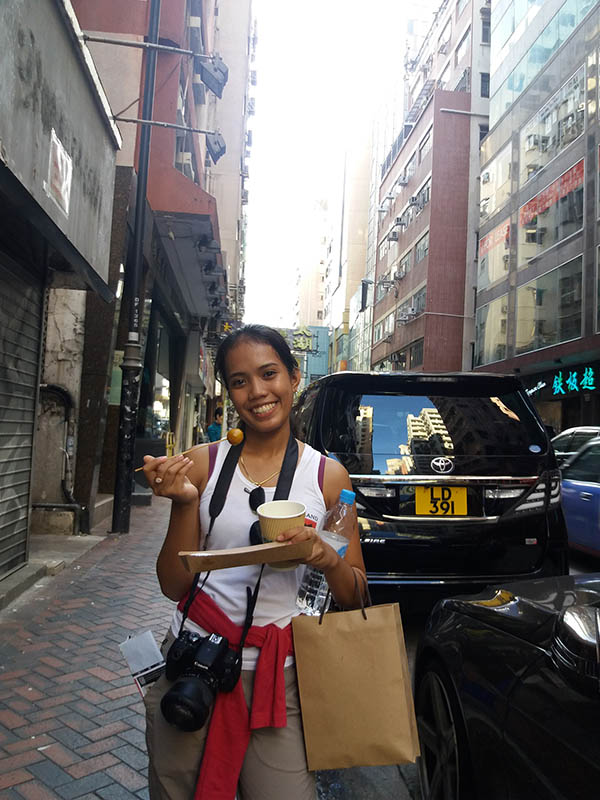
For example. I wore this during a city tour around Kowloon. At the start, I wore my pink sweater over a white tank top because it was a bit chilly in the morning. After walking around, I got a bit warm so I took it off. It turned into a complete new style. BUT…if you really want to wear fashionable and trendy clothes, go ahead. As long as it’s comfortable I have no say to it.
P.S. Another tip is to hide expensive tech stuff (like camera, GoPro, or cellphones). Use it only when taking pictures, to avoid people from stealing it. Again, too much attention means too much mone.
10. Be Careful
I saved this tip for the last because a lot of people can get so hyped about being in a new place. The adrenaline rush can throw you off balance with thinking what is rational and what is irrational. When going on city trip, be careful of building constructions, road maintenance, or slipping on a banana. The term “You Only Live Once” says a lot to many travelers I have met. But is it worth the risk? Avoid countries with ongoing conflicts; such as political conflicts or war. Don’t be in the streets late in the evening unless you have someone to keep you safe. Again, if possible, dress like the locals to avoid drawing attention to yourself. Notify the local authority (hotel staff or resort staff) if you are going somewhere remote such as a forest or secluded beach. You all can thank yourself for being careful one day when you’re 60 years old and grey…while still having adventures of a lifetime.

I really hope you found my tips helpful and time saving. Again, these are only tips and not a do-do-list. You can be as wild and adventurous as you can be. After all, the best way to travel is by just doing. So, go on just do it! Remember….visa free countries!
If you want to learn more tips, go comment below. If you just want to chat with the Dive Monsters, go check out our Facebook Page Dive Monsters. Since you are there, go like and follow us! Check out our YouTube channel and Instagram page as well.
Happy Travels!
Love,
Daisy